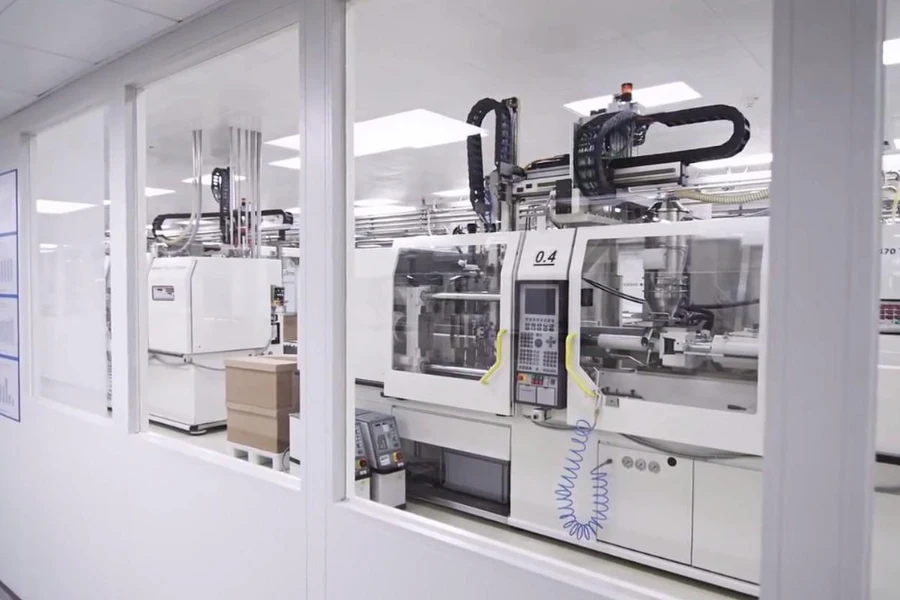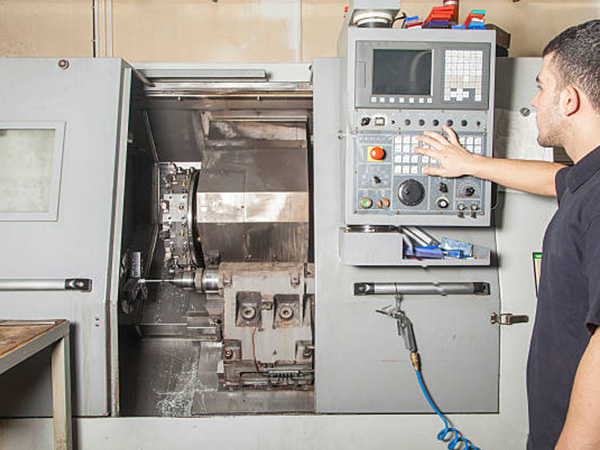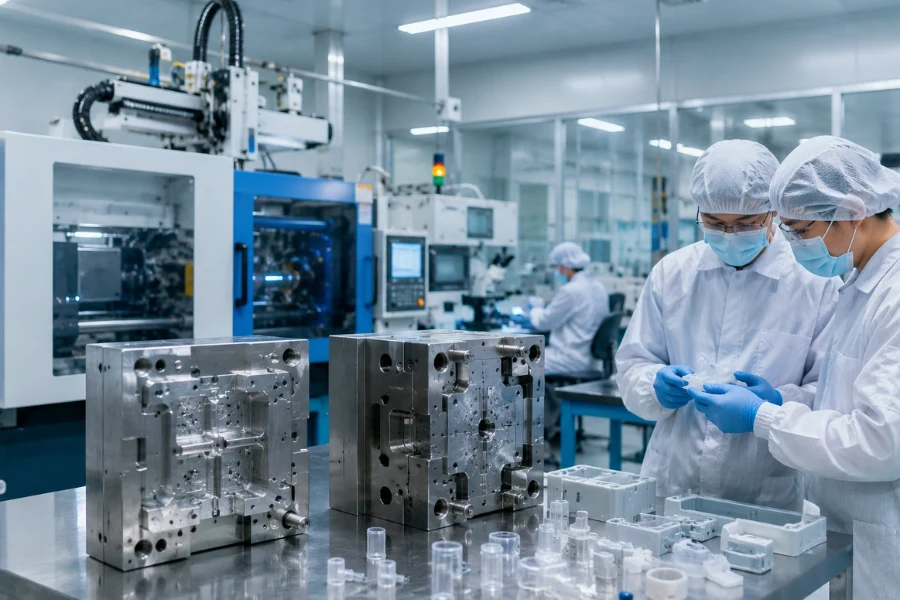
Plastic injection mold maintenance combines routine cleaning, wear inspection, dimensional monitoring, lubrication, cooling-system checks, and documented preventive service. Repair becomes necessary when wear, cracking, deformation, or component damage can no longer be corrected through routine servicing.
Shot count provides a useful maintenance baseline, but the actual interval depends on resin type, mold complexity, operating conditions, production history, and observed wear. These factors should determine when a tool receives routine maintenance, advanced inspection, or repair.
Injection Mold Maintenance Checklist
Injection mold maintenance can be divided into routine, preventive, and advanced levels.
| Maintenance level | What to check | Typical timing or trigger |
|---|---|---|
| Routine | Cavities, cores, parting surfaces, runners, gates, vents, visible hardware | Around production runs and when contamination is observed |
| Preventive | Guide components, ejectors, slides, seals, cooling circuits, lubrication | Based on shot count, operating history, and component condition |
| Advanced | Dimensional wear, inserts, internal components, cracks, surface deterioration | Major service, abnormal part quality, or evidence of progressive wear |
Maintenance records should document when service was performed, what conditions were found, and what corrective actions were taken.
Basic Routine Maintenance
Basic maintenance can usually be performed without completely disassembling the mold. Its purpose is to remove contamination and identify visible problems before the next production run.
Check the following areas:
- Cavity and core surfaces: Remove resin residue, dust, flash, and other debris using cleaning methods compatible with the mold surface.
- Parting surfaces: Check for trapped plastic, residue, or damage that could interfere with mold closing.
- Runners, gates, and sprues: Remove residual material and inspect for buildup or visible damage.
- Vents: Look for deposits that could restrict gas evacuation.
- Ejector areas: Check for contamination, sticking, abnormal marks, or restricted movement.
- Visible mold hardware: Inspect accessible fasteners, connectors, and plates for looseness or damage.
- Moisture and corrosion: Dry the mold before storage and inspect exposed surfaces for corrosion.
- Maintenance records: Record service dates or shot counts, observed conditions, and corrective actions.
After molding, remove loose fragments and flash before the next production run. Compressed air can help clear accessible debris after inspection when appropriate for the mold and surrounding equipment.
Recently molded parts can also provide early warning signs. Changes in flash, surface finish, dimensions, or ejection marks may indicate developing tooling problems.
General Preventive Maintenance
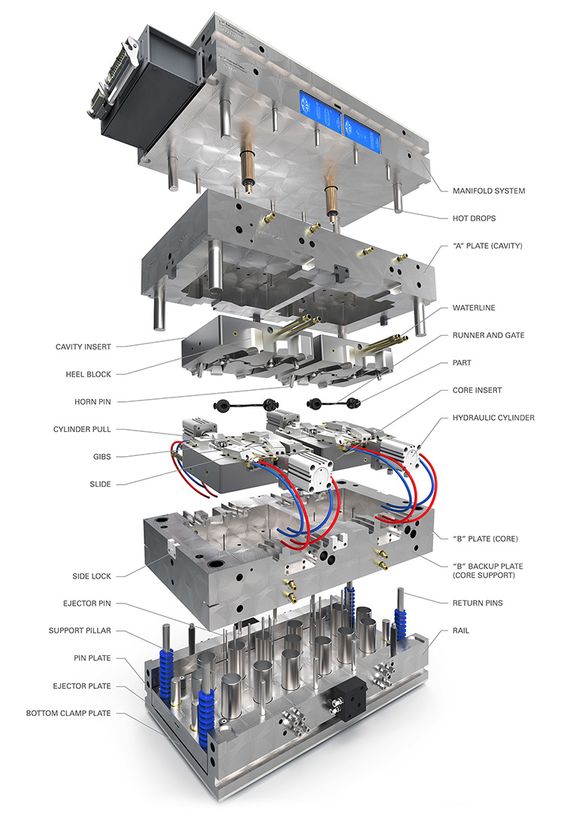
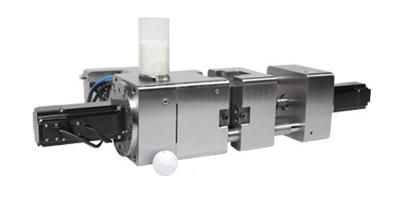
Preventive maintenance examines components that affect mold movement, alignment, sealing, venting, cooling, and ejection.
Leader pins and bushings: Inspect guide surfaces for scoring, abnormal clearance, or uneven wear. Progressive guide wear can affect alignment between mold halves and increase wear elsewhere in the tool.
Ejector system: Check ejector pins, plates, return components, and springs for smooth movement, bending, wear, or misalignment.
Slides and guide surfaces: Look for scoring, galling, abnormal clearance, insufficient lubrication, or restricted movement. Progressive slide wear can affect positioning and adjacent tooling surfaces.
Vents: Remove deposits and inspect for corrosion, burning, or physical damage.
Cooling circuits: Inspect water lines, fittings, O-rings, seals, and gaskets for leakage, restriction, corrosion, or deterioration.
Polished surfaces: Clean polished cavities carefully. Abrasive cleaning or uncontrolled polishing can alter the required surface finish and gradually remove material from precision molding surfaces.
Apply lubricant only where required and avoid contaminating cavities, cores, or finished parts.
Advanced Mold Maintenance
Advanced maintenance normally requires trained tooling personnel and partial or complete mold disassembly.
Before disassembly, review the maintenance history and compare recent molded parts with approved baseline samples when available. Dimensional drift, flash, drag marks, surface deterioration, or changing ejection behavior can help identify areas that require closer inspection.
After disassembly, inspect:
- cavity and core surfaces
- leader pins and bushings
- ejector components
- slides and guide surfaces
- inserts and shutoffs
- cooling channels and seals
- mold plates and base components
- areas susceptible to corrosion or cracking
Surface wear deserves particular attention. Molded plastic, demolding friction, and repeated production gradually affect cavity and core surfaces, while abrasive fillers such as glass fiber can accelerate wear.
Wear on cavity-forming surfaces can increase corresponding cavity dimensions, while wear on core-forming surfaces can reduce core dimensions. Dimensional verification is therefore important when visible wear or molded-part dimensional drift develops.
Controlled polishing may restore a deteriorated surface when dimensional requirements can still be maintained. Repeated polishing removes material and should not substitute for repair when wear has become dimensionally significant.
How Often Should Injection Molds Be Maintained?
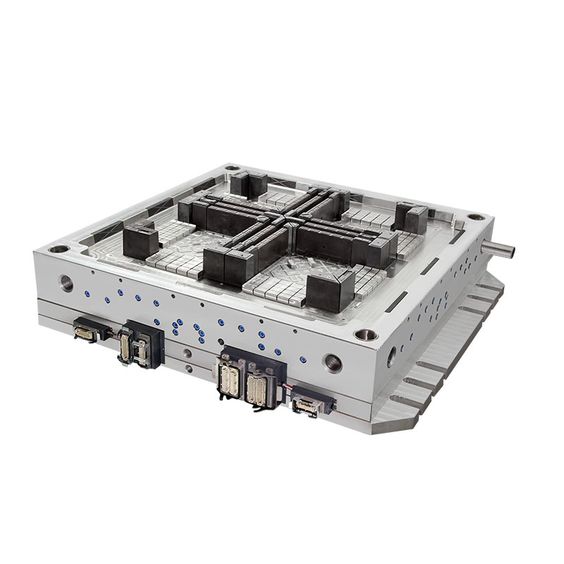
There is no universal maintenance interval for every injection mold.
Use shot count as a baseline, then shorten or adjust the interval when abrasive or corrosive resins, complex moving components, demanding operating conditions, dimensional drift, surface deterioration, or recurring molded-part defects indicate accelerated wear.
A simple tool processing a relatively nonabrasive resin may require less frequent major service than a complex mold containing slides, small core features, or glass-filled material. Material selection can influence both processing behavior and the wear conditions the mold must withstand, so maintenance records should establish intervals based on the actual behavior of each tool rather than a generic schedule alone.
Signs an Injection Mold Needs Maintenance or Repair
Changes in molded parts or tooling condition can direct inspection, but the mold and process should be evaluated before assigning a root cause.
| Observed symptom | Possible tooling condition |
|---|---|
| Increasing surface roughness | Cavity or core surface wear |
| Drag or scuff marks | Surface deterioration, ejection problems, or local tooling wear |
| Increasing flash | Parting-surface wear, shutoff damage, or alignment problems |
| Dimensional drift | Progressive cavity or core wear or another dimensional tooling change |
| Ejector sticking | Contamination, misalignment, scoring, or component wear |
| Guide or slide scoring | Friction, lubrication, alignment, or progressive wear |
| Corrosion or pitting | Moisture exposure or a corrosive molding environment |
| Fine surface cracking | Possible thermal fatigue or local surface damage |
Common Injection Mold Failure Mechanisms
Several failure mechanisms are especially relevant when maintenance records show progressive surface or dimensional changes.
Surface Wear
Cavity and core surfaces experience repeated melt flow and friction during part release. Abrasive fillers such as glass fiber can accelerate wear, while corrosive byproducts from some materials can further deteriorate tooling surfaces.
Progressive wear can increase surface roughness and eventually affect part finish or dimensions.
Thermal Fatigue and Cracking
Repeated heating and cooling can subject molding surfaces to thermal fatigue, particularly under demanding temperature and pressure conditions. Fine surface cracking may develop as thermal cycling continues.
The depth, location, and dimensional effect of the cracking determine whether surface restoration is sufficient or the affected component requires repair or replacement.
Plastic Deformation and Local Damage
Local depressions, pitting, or deformation can occur when the molding surface does not have sufficient strength or hardness for its working conditions or when the surface condition has deteriorated.
Material condition, heat treatment, operating temperature, local loading, and component geometry should be considered before repeated surface restoration. If damage repeatedly develops around the same tooling feature, the original mold design may also need to be reviewed rather than repeatedly repairing the affected area.
Injection Mold Repair Process
Injection mold repair is appropriate when damage or dimensional deterioration cannot be restored through routine cleaning, lubrication, adjustment, or minor servicing.
1. Preparation
Review previous maintenance records, known production problems, recent molded samples, dimensional reports, and earlier corrective actions.
This establishes a baseline and helps determine whether the current problem is new, progressive, or recurring.
2. Disassembly
Disassemble only to the extent required for inspection and repair. Major work may require separation of mold plates and removal of inserts, ejector components, slides, or other mechanisms.
Identify and handle components systematically to protect precision surfaces and maintain their original positions.
3. Troubleshooting
Troubleshooting should connect the production symptom to the tooling condition before corrective work begins.
Compare recent molded parts with approved samples and historical inspection data, then inspect the tooling features capable of producing the observed change.
For example:
- Dimensional drift: Measure the corresponding cavity, core, insert, and other relevant tooling features for wear.
- Increasing flash: Inspect parting surfaces, shutoffs, alignment features, and local wear.
- Drag or scuff marks: Inspect cavity/core surfaces, draft-related contact areas, and the ejection system.
- Ejector marks or sticking: Check ejector pins, plates, return components, alignment, and surface condition.
- Recurring corrosion: Inspect cooling leakage, storage conditions, exposed surfaces, and possible material-related corrosive effects.
- Surface cracking: Determine the depth and location of cracking and whether critical dimensions or surface requirements are affected.
A visibly worn component is not automatically the root cause. Alignment, operating conditions, lubrication, resin characteristics, and related components may contribute to the same failure.
4. Corrective Action
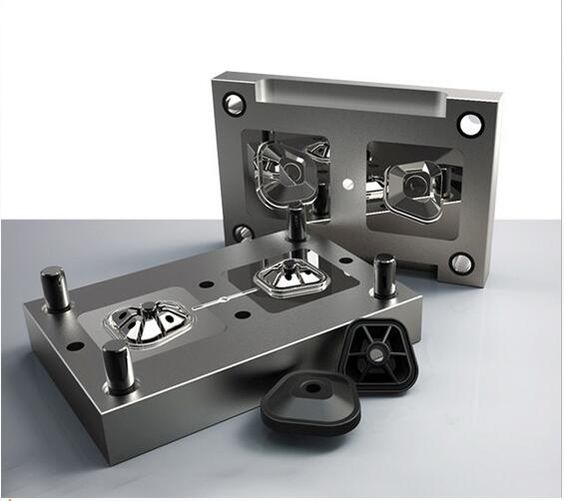
The repair method should match the type and severity of damage and restore the required geometry, movement, and surface condition.
Controlled polishing may be suitable for minor surface deterioration when sufficient dimensional allowance remains.
Welding and re-machining may restore localized worn or damaged areas when the mold material, geometry, and repair location permit it.
Component replacement may be appropriate for worn leader pins, bushings, ejector components, seals, springs, inserts, or other replaceable elements.
Insert or molding-component replacement may be preferable when cracking, deformation, or material loss makes reliable dimensional restoration impractical.
Recurring wear should trigger a root-cause review rather than repeated localized repair. Where the problem involves tooling geometry or component condition, the corrective strategy may need to be coordinated with the original mold making requirements. Tooling material, heat treatment, surface condition, alignment, lubrication, resin characteristics, and operating conditions may also need to be reviewed.
5. Cleaning
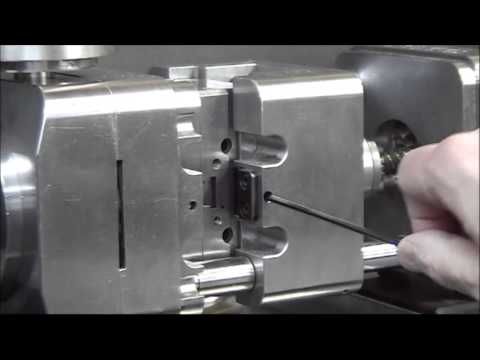
After repair, remove machining debris, polishing residue, old lubricant, and other contamination before reassembly.
Use cleaning methods appropriate for the mold material and surface finish, particularly on polished or textured molding surfaces.
6. Reassembly
Return components to their documented positions and verify that moving systems operate without binding.
Check ejectors, guide components, slides, inserts, seals, and other components affected by the repair, and apply appropriate lubrication where required.
7. Final Inspection and Verification
Before production release, verify the areas affected by maintenance or repair.
Depending on the scope of work, this may include:
- mold alignment
- ejector and slide movement
- cooling-circuit integrity
- cavity and core dimensions
- surface finish
- repaired component fit
- mold opening and closing
- trial molding and molded-part inspection
Verification should correspond to the repair performed. A dimensional repair, for example, requires more than confirming that the mold opens and closes correctly.
8. Storage or Production Release
For storage, leave the mold clean, dry, protected against corrosion, and documented with its current maintenance status.
For production release, record repaired areas, replaced components, measurements, and verification results. This history helps identify recurring wear and improves future maintenance decisions.
When Maintenance Is No Longer Enough
Routine maintenance is appropriate when cleaning, lubrication, adjustment, or limited surface restoration can return the mold to its required condition. Repair becomes necessary when wear or damage affects geometry, component integrity, controlled movement, or the ability to produce acceptable parts.
| Tooling condition | Maintenance response | When repair or replacement is needed |
|---|---|---|
| Surface contamination | Clean and inspect | If underlying surface damage is found |
| Minor surface deterioration | Controlled polishing where appropriate | If dimensions or required texture are affected |
| Guide components need servicing | Clean, inspect, and lubricate | If pins, bushings, or mating surfaces show excessive wear |
| Ejector resistance | Clean, lubricate, and verify alignment | If components are bent, scored, or dimensionally worn |
| Local cavity/core wear | Measure and assess | When original geometry must be restored |
| Surface cracking | Evaluate depth and dimensional impact | When cracking cannot be removed without compromising the tool |
| Corrosion | Clean and protect | When material loss affects surface or dimensions |
| Dimensional drift | Inspect and measure | When tooling dimensions are outside acceptable requirements |
Repeated repair of the same area can indicate an unresolved problem with tooling material, surface condition, alignment, mold design, resin characteristics, or operating conditions.
Extending Injection Mold Service Life
Extending injection mold service life depends primarily on controlling wear drivers, detecting deterioration early, and using maintenance history to refine preventive service.
Control wear drivers. Abrasive reinforced resins, corrosive molding environments, thermal cycling, inadequate lubrication, and abnormal component contact can accelerate tooling deterioration. Tooling life should therefore be considered together with resin behavior, part geometry, processing conditions, and the production requirements of the plastic injection molding program.
Detect deterioration early. Surface-finish changes, dimensional drift, flash, sticking, scoring, corrosion, and abnormal component movement should trigger inspection before wear spreads to other mold components or affects production consistency.
Use maintenance history. Track shot count, observed wear, dimensional trends, recurring defects, repairs, and replaced components. These records provide a stronger basis for adjusting preventive maintenance intervals than a generic shot-count schedule alone.
After all the steps of dissembling, troubleshooting, corrective actions, cleaning, assembling, and final check are carried out, it needs to get stored. Now, that is also a very crucial step.
There has to be no rearrangement or mismatch with the sequence.
If the storing space has some issues this can straight up affect the mold and that will put all the steps into vain. So, the storage area needs to be preplanned beforehand.
If all these steps of repairs are carried out with utmost sincerity, there is a surety of witnessing no failure in the future as well.
Conclusion
Plastic injection mold maintenance combines cleaning, component inspection, wear monitoring, dimensional verification, and documented preventive service. When deterioration can no longer be corrected through routine servicing, troubleshooting should determine whether polishing, repair, re-machining, or component replacement is appropriate.
For medical injection molding programs, tooling condition can affect dimensional consistency, surface quality, repeatability, and production continuity. SeaSkyMedical supports medical injection molding projects with DFM, mold manufacturing, tooling support, and scalable production from tool development through ongoing manufacturing.